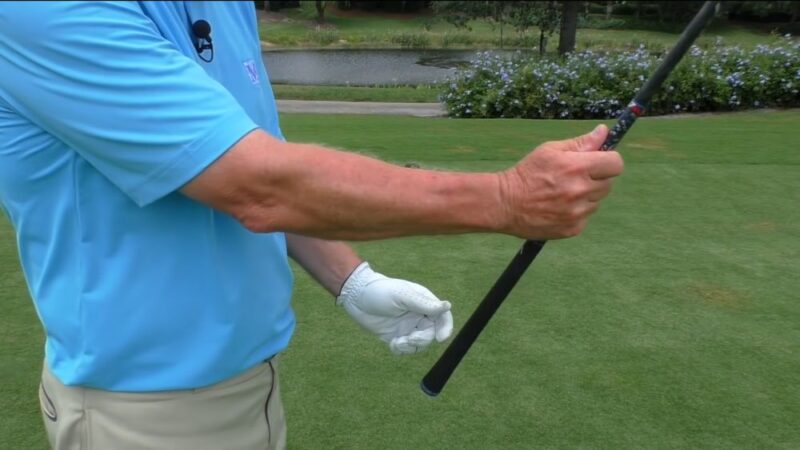
As someone who has spent countless hours on the greens, let me tell you – nothing quite matches the thrill of nailing that perfect swing. Over time, I’ve learned that while skill and technique are crucial, the equipment you use can significantly influence your performance. Among the equipment, your golf clubs, specifically the grips, can make a world of difference.
Grips tend to wear out, losing their tackiness, and may even harden or crack over time. This wear and tear directly affect your swing stability, comfort, and control over the club. I learned this the hard way when my swing started to falter inexplicably, only to realize later that the grips on my clubs had worn down. That’s when I embarked on my journey of regripping my golf clubs, using a simple yet effective ingredient – rubbing alcohol.
The Importance of Regripping
When it comes to golf, few things are more important than maintaining a solid grip. Over time, club grips can wear down, becoming slippery and less effective. This not only affects your swing but can lead to injury from excessive force being used.
Regripping your clubs is a fundamental aspect of golf maintenance that every player, no matter their skill level, should know. While it may seem daunting at first, it is quite straightforward once you get the hang of it.
Role of Rubbing Alcohol
Rubbing alcohol plays a key role in the process of regripping. Its properties allow the new grip to slide onto the club and then evaporate quickly, leaving a secure and firm hold.
This quick evaporation means you can use your clubs soon after regripping without fear of slippage. Rubbing alcohol is also readily available and inexpensive, making it a popular choice among golfers.
The Process Explained
Anatomy of a Golf Grip
The grip is an essential component of a golf club. The grip consists of:
- The core: This is the innermost layer that attaches directly to the shaft.
- The outer layer: This provides a tactile surface for your hands.
Understanding the grip’s anatomy helps you appreciate the role that each component plays during the regripping process.
Tools Required
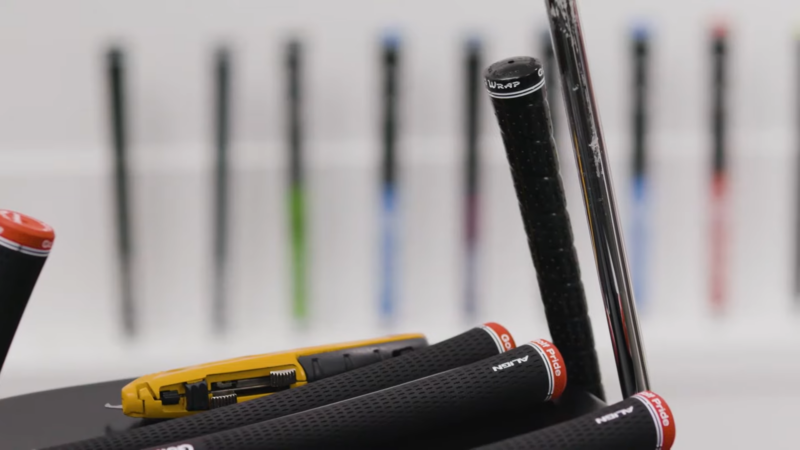
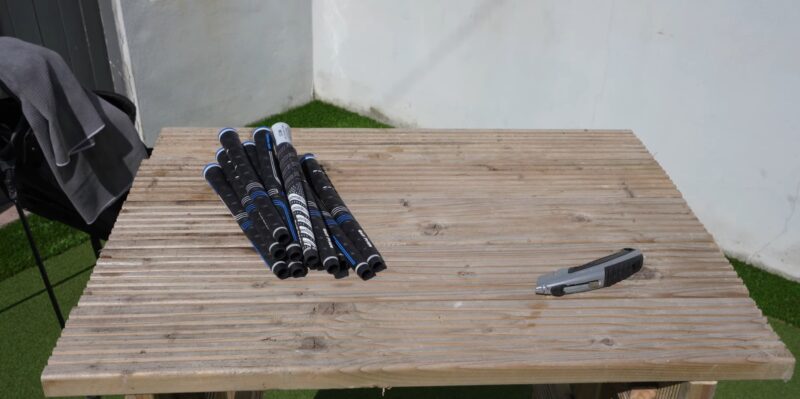
Before you begin, gather the necessary tools. For this process, you’ll need:
- New golf grips
- Double-sided grip tape
- Rubbing alcohol
- A utility knife or grip remover
- A catch basin or cloth
Having these tools prepared will make the process smoother and more efficient.
Step-by-Step Guide to Regripping
Removing the Old Grip
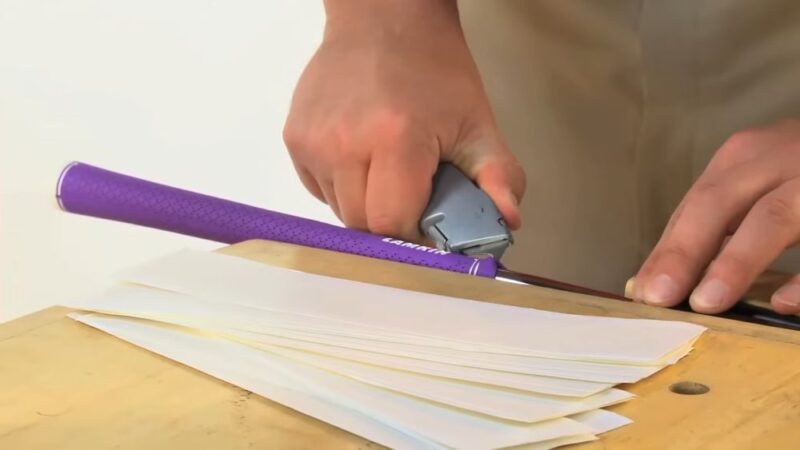
First, you need to remove the old grip. Using a utility knife, make a lengthwise cut down the grip. Take care not to cut into the shaft itself. Once cut, peel off the grip and remove any old tape from the shaft.
To avoid accidents, always cut away from yourself. If your grip has a built-in alignment feature, make sure to cut along that line to avoid damaging the shaft.
Preparing the Shaft
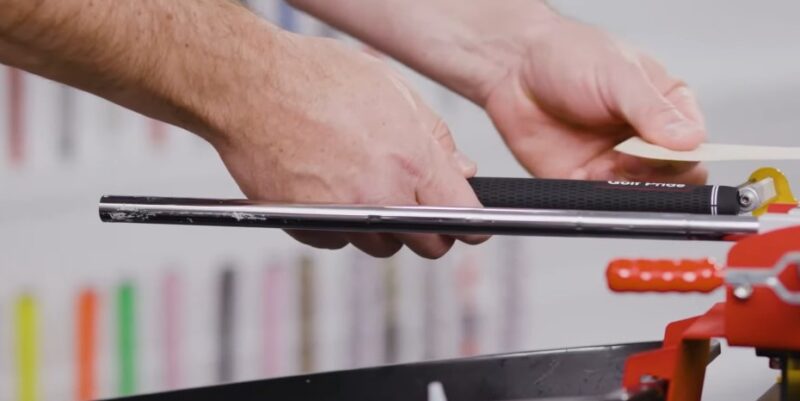
Next, prepare the shaft by applying double-sided grip tape. Ensure the tape is flush against the shaft and extend it to the end, leaving an overhang that can be folded into the grip’s opening.
Make sure the entire length of the grip area on the shaft is covered in tape for an even feel. Once the tape is applied, pour rubbing alcohol onto the taped area, which will activate the adhesive.
Fitting the New Grip
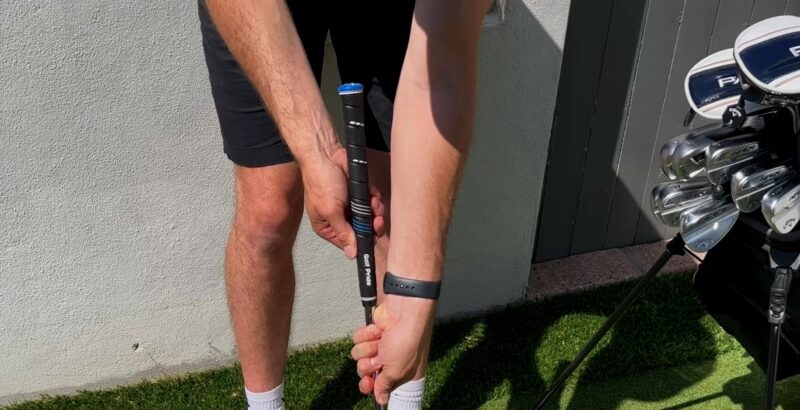
Applying the Grip
Now comes the fun part – applying the grip. Pour rubbing alcohol into the grip, covering the entire interior. Cover the opening with your finger, and shake it to ensure the alcohol is distributed throughout the grip.
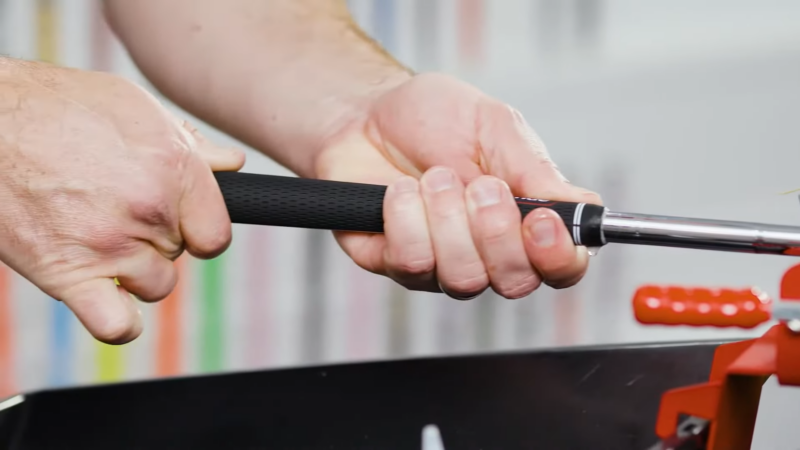
The alcohol acts as a lubricant, allowing the grip to slide onto the shaft. Position the grip over the shaft and push it all the way until it is fully seated. Ensure the grip aligns correctly with the clubface.
Ensuring Correct Alignment
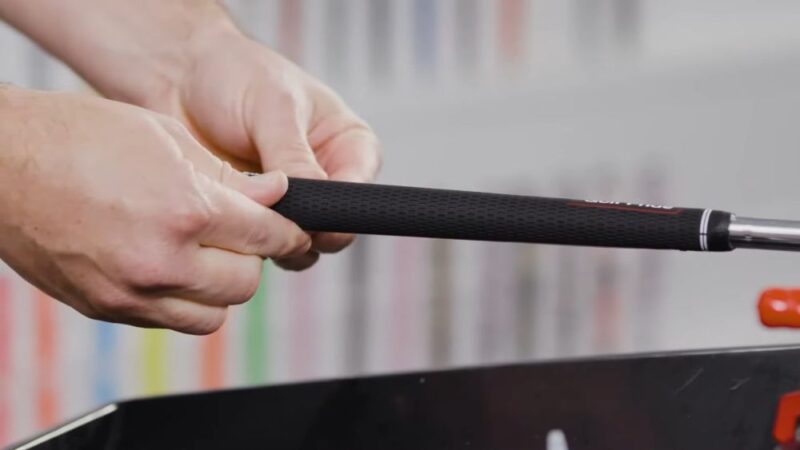
Once the grip is on, make sure it is aligned correctly. This is particularly important if the grip has a rib or other alignment features.
Rotate the grip as necessary while the alcohol is still wet. Once the alcohol has evaporated, the grip will be securely fixed.
Post-Installation Tips
Checking the Grip
After installing the grip, it’s essential to check it thoroughly. Ensure it is secure and aligned correctly. Check for any wrinkles or bulges that may have formed during the installation process.
If you’re satisfied with your installation, repeat the process with your other clubs.
Drying Time
Although rubbing alcohol dries relatively quickly, it’s best to let your clubs dry for a few hours, or even overnight, before using them. This ensures a secure fit.
Remember to store your clubs in a cool, dry place while drying.
Maintaining Your Grips
Regular Cleaning
To extend the lifespan of your grips, clean them regularly. Simply use warm water and mild dish soap, scrub lightly with a brush or cloth, then rinse and dry thoroughly.
Avoid soaking your grips, as this can compromise the adhesive bond.
When to Regrip
Golf grips naturally wear out over time. Factors such as frequency of play, personal grip pressure, weather conditions, and storage conditions can affect the lifespan of your grips.
As a rule of thumb, consider regripping your clubs once a year or every 40 rounds of golf, whichever comes first.
Additional Tips
Size Matters
When selecting a new grip, it’s essential to consider the size. Golf grips come in a variety of sizes, including standard, midsize, and oversize. Your hand size and personal preference should guide your choice.
Larger grips can help golfers with larger hands or those who struggle with hand fatigue or arthritis. Smaller grips can provide more wrist action, which can potentially add more spin and control.
Material Considerations
Golf grips are made from a range of materials, including rubber, leather, and synthetic materials, each offering different feels and durability. Some golfers prefer the soft feel of a leather grip, while others might prefer the more substantial, tacky feel of rubber.
Consider the weather conditions in your area. Corded grips, for example, offer more traction and are better suited for humid or wet conditions.
Troubleshooting Regripping Issues
Grip Slippage
If you find that your grip is slipping, it could be due to insufficient drying time or not using enough rubbing alcohol during the installation process.
Ensure that you give your clubs enough time to dry and that you’re using plenty of alcohol when installing the grip. If you’re still experiencing issues, it might be best to consult a professional.
Misalignment
Misalignment can cause issues with your swing and accuracy. If your grip is misaligned, you may need to remove and reinstall it.
When installing the grip, ensure that it’s straight and that any markings or patterns are lined up with the clubface.
Benefits of DIY Regripping
Saving Money
By regripping your clubs at home, you can save money. The cost of new grips and rubbing alcohol is often less than the fee a professional would charge for the service.
Moreover, learning to do it yourself gives you the freedom to regrip your clubs as often as you like, keeping them in optimal condition.
Personal Satisfaction
Beyond the financial benefits, regripping your clubs offers personal satisfaction. It allows you to personalize your clubs, and there’s a certain pride in playing well with clubs you’ve maintained yourself.
Final Words
In conclusion, regripping golf clubs with rubbing alcohol is a straightforward process that every golfer can master. With the right tools, a bit of patience, and regular maintenance, you can ensure your grips stay in excellent condition, helping you play your best game.